Prep Time: 2 hours 15 minutes
Cook Time: 4 hours 15 minutes
Total Serving: 4-6 servings
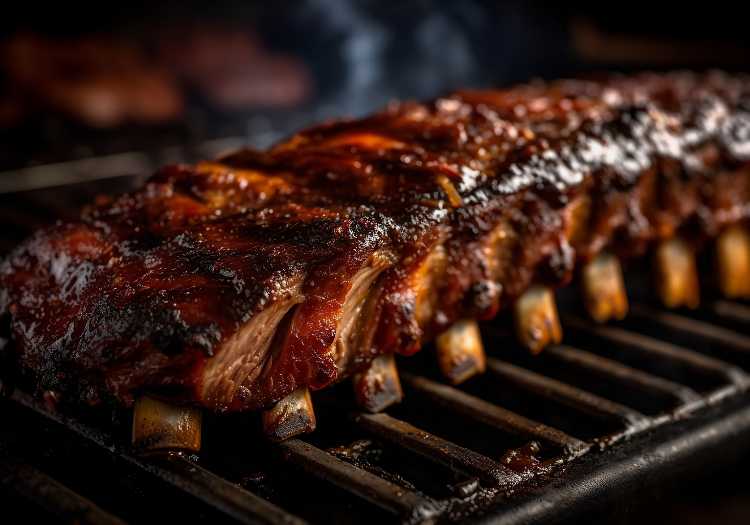
Get ready to elevate your BBQ game with our mouthwatering Pellet Grill Rib recipe.
These tender, juicy ribs with a caramelized crust will have you hooked!
Fire up your pellet grill, and get ready for a smoky and savory culinary adventure.
Let's dive in!
Pellet Grill Rib Ingredients:
- Two racks baby back pork ribs
- Six tbsp melted honey
- Four tbsp butter
- ½ cup packed dark brown sugar
- Two tbsp chili powder
- One tbsp salt
- One tbsp black pepper
- One tbsp garlic powder
- Two tsp mustard powder
- Two tsp onion powder
- Two tsp smoked paprika
- ½ cup BBQ sauce
- Spritzer with 50/50 water and apple cider vinegar mix
Cooking Instructions:
Prepare The Ribs:
To prep the ribs, start by giving them a refreshing rinse under cold water.
After that, gently pat them dry with a paper towel.
Next, take a moment to trim away any excessive fat or connective tissue, leaving behind only the parts you want to enjoy.
Now, let's focus on the bone side of the ribs.
It's time to remove the membrane.
To make this task easier, you can use a clever trick involving a piece of paper towel.
Simply place the paper towel on the membrane to help you get a good grip.
Once you have a firm hold, pull steadily until the membrane is completely removed.
After the ribs are trimmed and the membrane has been removed, you are going to want to season your ribs with your dry rib rub mix.
But first, you need to make the dry rub!
Making The Seasoning:
It's time to create the flavor!
Measure out ½ cup of packed dark brown sugar, 2 tbsp. of chili powder, 1 tbsp. of salt, 1 tbsp. of black pepper, 1 tbsp. of garlic powder, 2 tsp of mustard powder, 2 tsp of onion powder, and 2 tsp of smoked paprika.

Mix an exact amount of these ingredients into a medium-sized mixing bowl.
Now that your dry rub is done, you can either leave it in the bowl or add it to a spice shaker.
Applying The Seasoning:
Take your mixed seasoning, and evenly sprinkle it over your ribs ensuring to get some flavor in every crease!
Once the ribs are properly seasoned, cover them with aluminum foil and place them in the fridge for 2 hours.
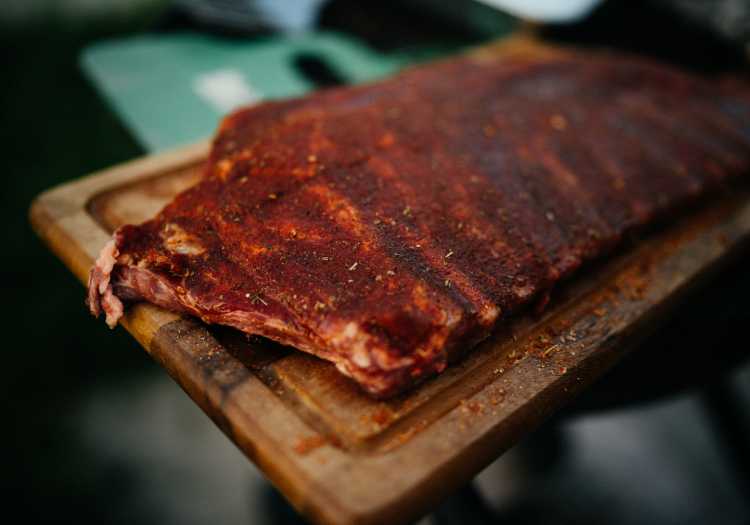
This allows for bold flavors to penetrate the meat and settle.
Keep in mind you can always let your seasoned ribs sit for longer if time allows for it, or a shorter period if you are in a time crunch!
Preheat Your Pellet Grill:
Once your ribs are 100% ready to rock, start your pellet grill and turn the temperature control to 225℉.
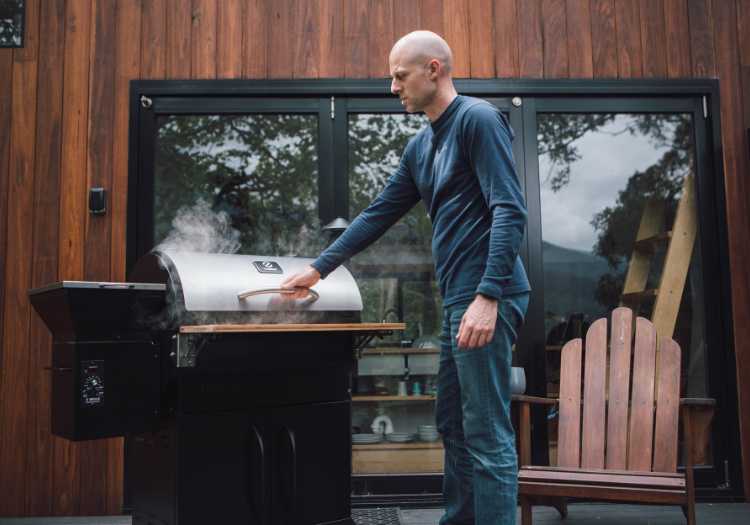
It will take 10-15 minutes on average for a pellet grill to reach the proper temp.
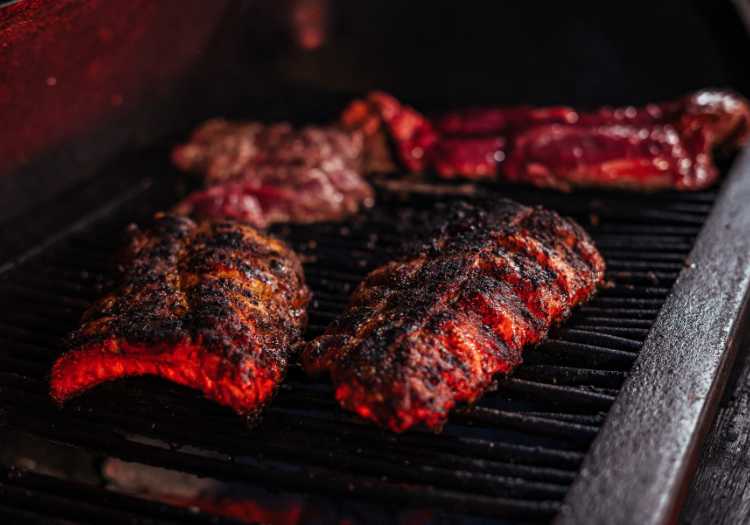
Smoke The Ribs:
Once the smoker has reached the desired temperature, carefully position the ribs on the grill with the meat side facing up.
At this point, you have two options: patiently wait for the next three hours to pass or, if you're a passionate barbecue enthusiast, you can opt to spritz your ribs every 30-45 minutes.
To do this, simply prepare a mixture of equal parts apple cider vinegar and water.
Spritzing your smoking ribs with this mixture helps to enhance the smoky bark while adding moisture.
After the three-hour mark, carefully remove the ribs from the grill and place each rack, with the meat side up, onto a generously sized piece of Heavy Duty tin foil.
Next, brush on some melted honey and butter, and if desired, spritz the ribs for extra moisture.
Flip the racks so that the bone is facing up, and repeat the process by brushing them with the rest of the melted butter and honey.
Then, tightly wrap the ribs and place them back on the smoker, ensuring the bone side is facing up, for 45-60 minutes at a temperature of 225℉.
After removing the ribs from the foil, place them back on the grill and brush them with your favorite BBQ sauce.
Cook for approximately 30-45 more minutes at 225℉.
Your ribs should be done now!
Check Pork Ribs For Doneness:
To check if the ribs are done, simply use your grill tongs to pick them up and give them a gentle bounce.
If you notice that the meat starts to slightly split, it means that the ribs are fully cooked.
They should be done enough, but if they are overdone, you'll get fall-off-the-bone ribs, that end up being mushy.
At that point, you can remove them from the smoker and turn the grill off.
Cover the ribs in foil and let rest for at least 10 minutes.
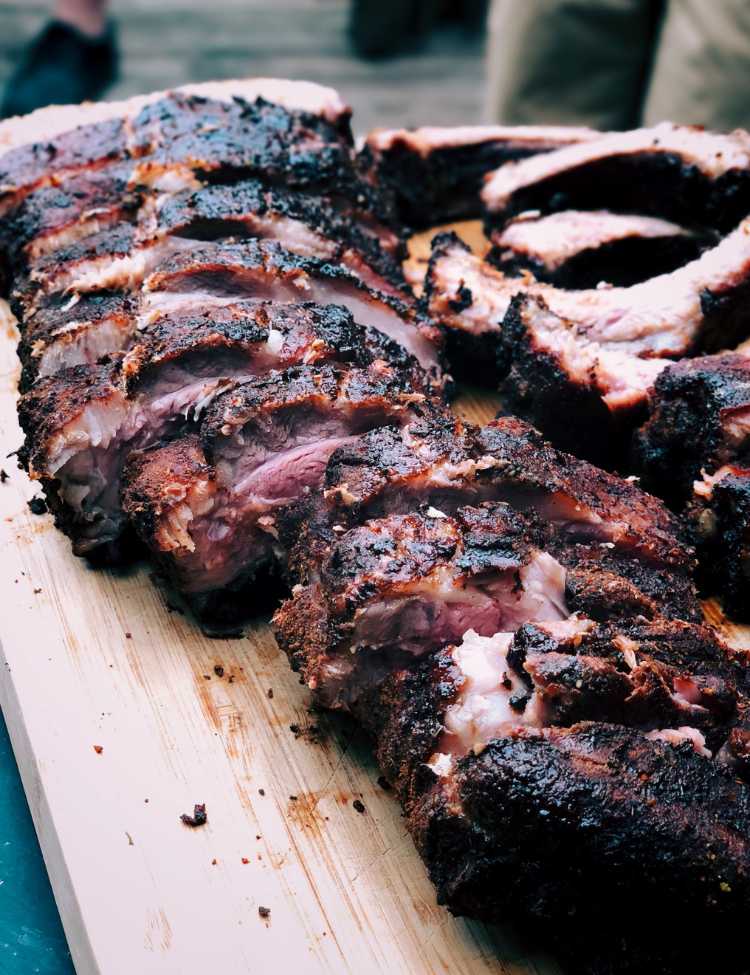
Serve Your Smoked Ribs:
Once the ribs have had plenty of time to rest you can take a sharp knife and cut them up, so they can be easily served!
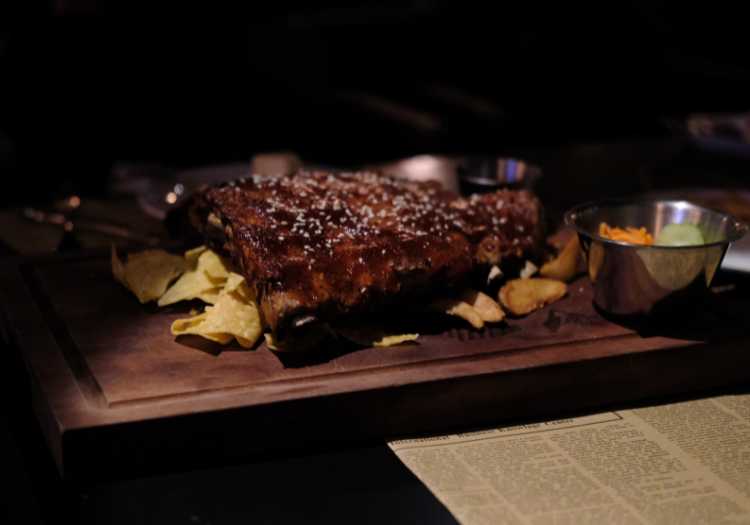
Place the ready-to-eat ribs on a platter and allow your guests to dig in!
Tantalizing Sides Dishes For Ribs:
Even with 2 full racks of perfectly smoked pork ribs, there's always room for more!
We recommend pairing this recipe with Coleslaw, German Potato Salad, Corn on the Cob, Baked Beans, Mac and Cheese or even Pasta Salad!
There are many more sides that you can pick and choose from.

Ultimately it should come down to what flavor profile you are going for in this recipe!
Use your creativity for some amazing side dishes.
Storing Leftover Ribs:
We always consider the fact that you might not finish your meal.
That's why we provide the necessary information needed to store your pork spare ribs.
Leftover pellet smoker ribs can stay fresh in the refrigerator for about three to four days when tightly wrapped in plastic wrap or foil and stored in an airtight container.
For extended storage, you can freeze them for up to two to three months.
Nutrition Facts
(Per Serving)
Calories: 715
Fat: 46g
Carbs: 31g
Protein: 48g
Disclaimer: The data listed above is an estimate and not a guarantee.
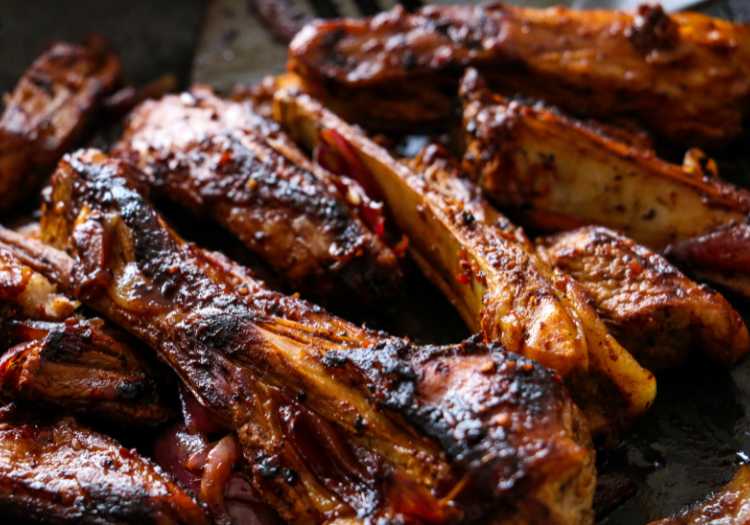
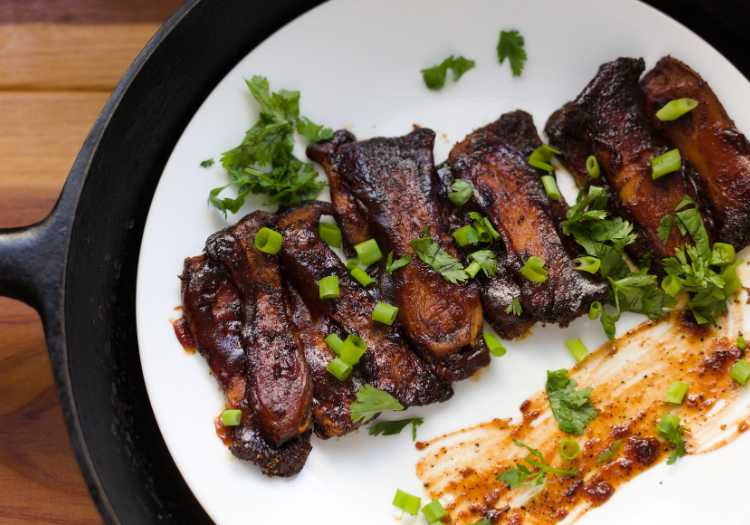
The Best Pellet Grill Rib Recipe!
With this enjoyable pellet grill ribs recipe, you can take your BBQ game to the next level!
Not only will these juicy and tender ribs taste amazing, guests and family members alike will be impressed by your tasty skills.
We hope this recipe helped you pellet smoke ribs!
And don't forget to prepare some delicious sides to accompany the ribs!
Be sure to check out our other related articles and we also have more fun recipes for your next BBQ gathering!
And don't forget to subscribe for notifications when we post new recipes.
Have fun with the cooking process and enjoy this flavorful experience with friends and family.
Bon Appétit!
Other Related Grilling Articles You May Like
 Quality Quick Check-Qualify before you buy
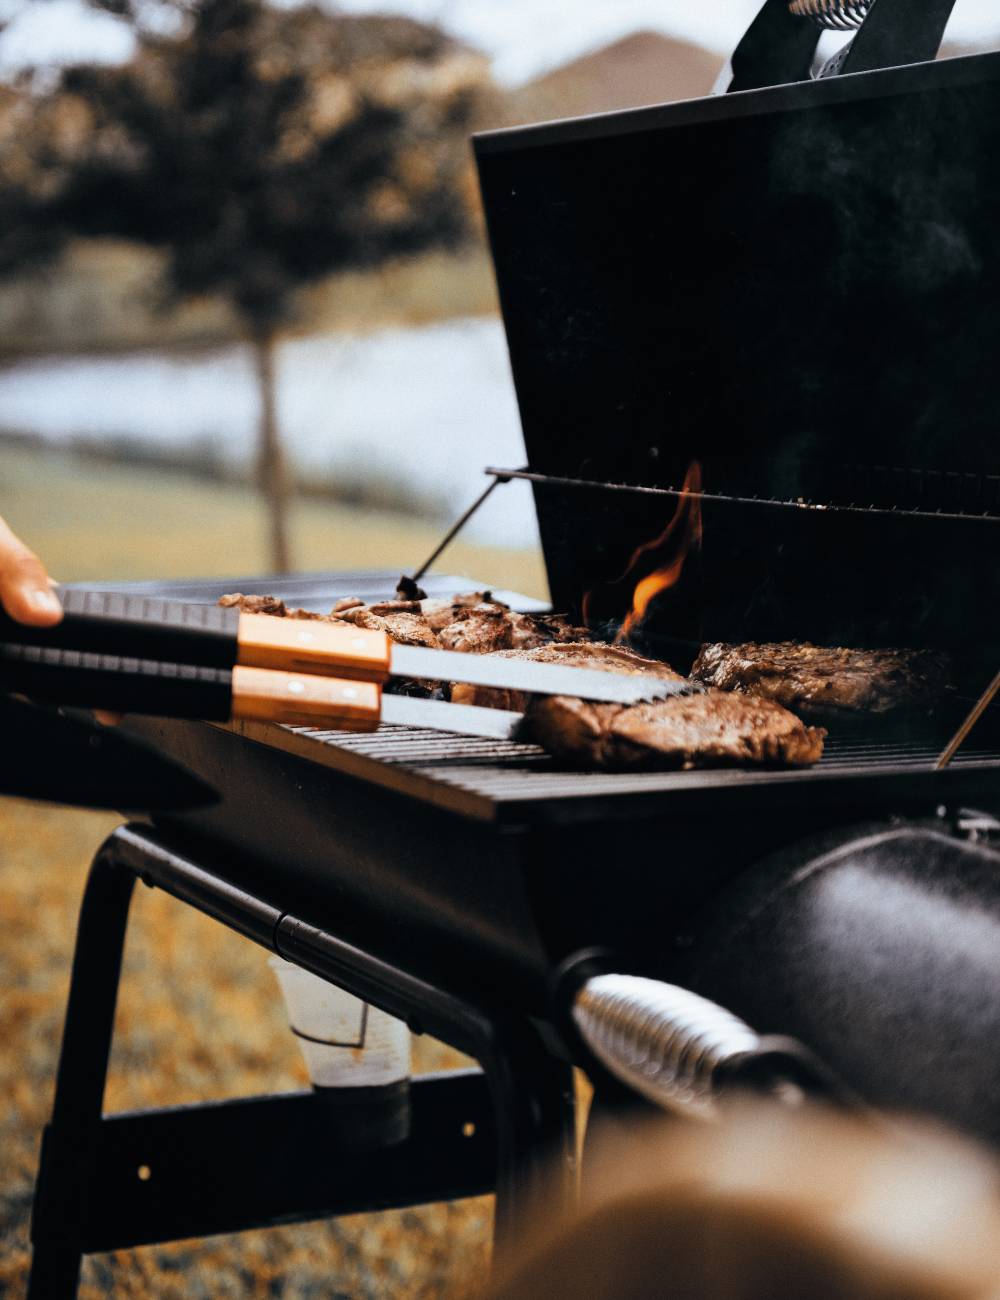 Quality Quick Check-Qualify before you buy
 Quality Quick Check-Qualify before you buy
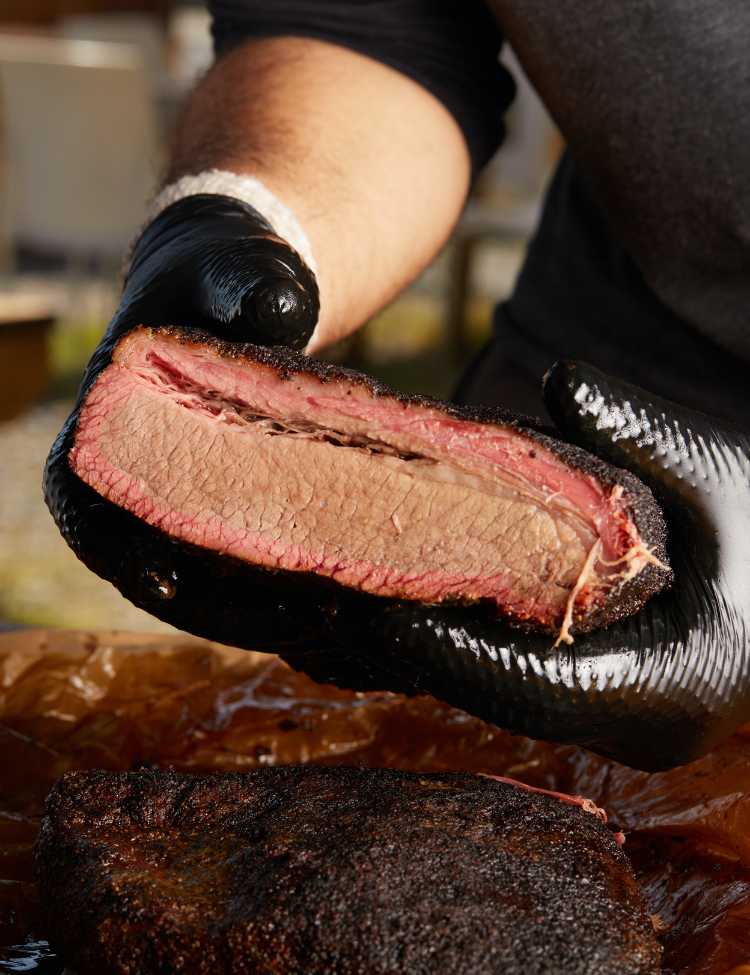 Quality Quick Check-Qualify before you buy