Are you longing for a backyard BBQ meal that will make your mouth water?
If so, then cooking ribs on the grill is sure to do the trick!
Whether you're a novice or an experienced pitmaster, grilling up succulent, perfectly cooked ribs is an art that requires just the right balance of seasoning and cooking time.
In this article, we'll show you exactly how to master this classic outdoor cooking experience with tips for perfecting your BBQ ribs on the grill.
So grab your tongs and let's get grilling!
Key Points
•Preparation is Key: Before grilling, remove the membrane from the back of the ribs. This makes them more tender and allows the seasoning to penetrate deeper.
•Season Well: Rub your ribs with a mix of spices and let them sit for at least an hour or overnight in the fridge. This helps to develop a robust flavor.
•Maintain Moisture: To keep your ribs moist during grilling, spray them occasionally with apple juice or a mix of vinegar and water.
•Check for Doneness: The ribs are done when they reach an internal temperature of 190-203°F. Another indicator is when the meat pulls away from the bone.

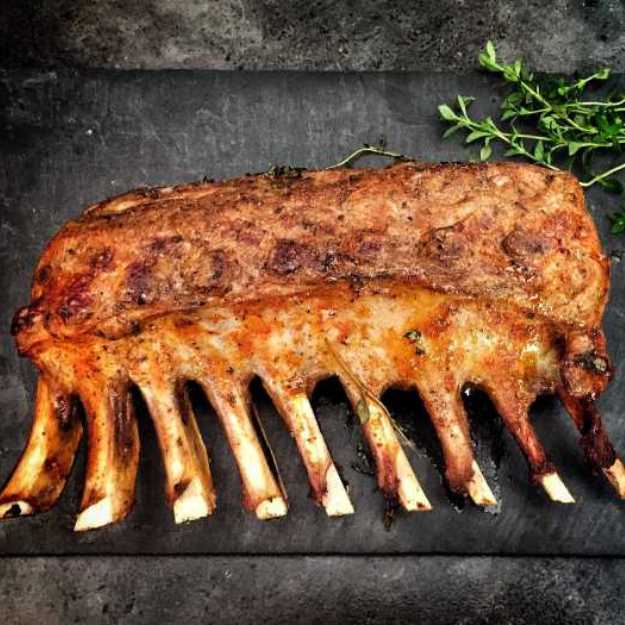
Understanding the Basics: Types of Ribs for Grilling
When it comes to grilling, it's essential to understand the different types of ribs available.
The most common types include baby back ribs, spare ribs, and St. Louis style ribs.
Baby back ribs are cut from the top of the rib cage between the spine and the spare ribs.
They're smaller, leaner, and quicker to cook than other types, making them a popular choice.

Spare ribs, on the other hand, come from the belly side of the rib cage and are larger, meatier, and have more fat, which can result in a richer flavor when cooked properly.
St. Louis style ribs are essentially spare ribs with the rib tips removed, creating a rectangular shape that's easier to handle and cook evenly on the grill.
Each type has its unique characteristics and can be used for different recipes based on your preference!
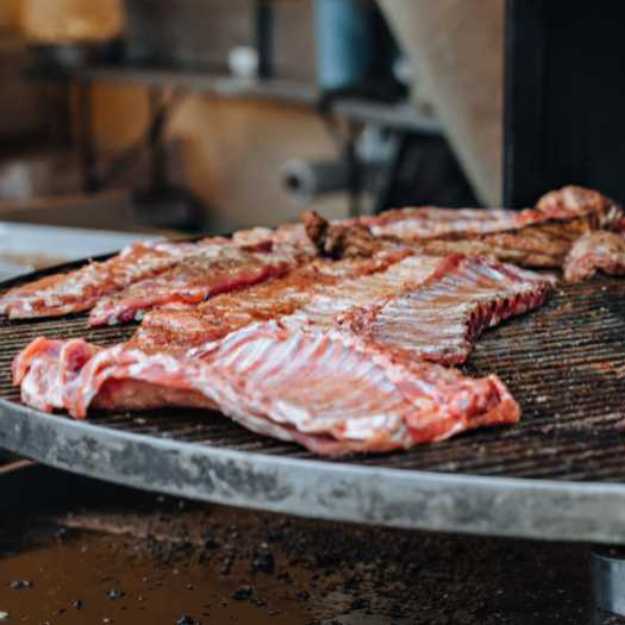
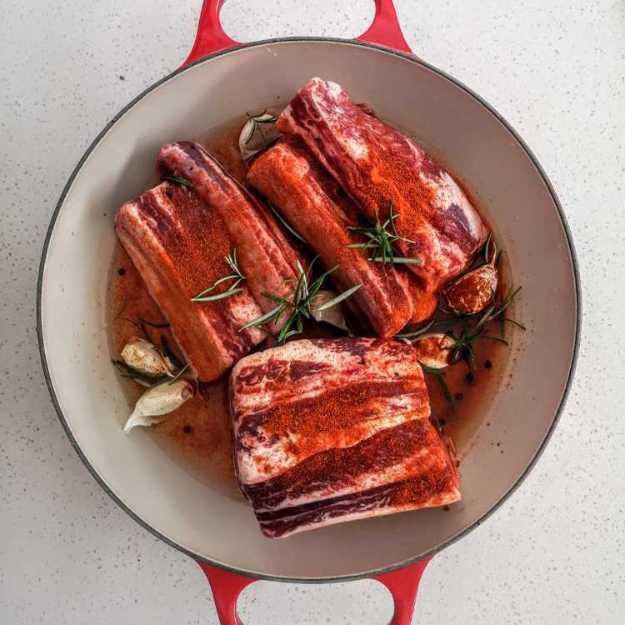
Prepping Your Ribs: Removing Membranes and Applying Rubs
Before placing your ribs on the grill, there are two crucial steps to ensure you achieve the best flavors and texture - removing the membrane and applying a rub.
The membrane, also known as the silverskin, is a thin layer on the bone side of the ribs.
While it's not harmful, it can become tough and chewy when cooked, preventing your seasonings from fully penetrating the meat.
To remove it, use a knife to gently lift a corner of the membrane, then grab it with a paper towel (for a better grip) and peel it off.
Once the membrane is removed, your ribs are ready for the rub.
A good dry rub is a mixture of spices and herbs that enhances the flavor of the ribs.
You can always spice your rub up with spices like paprika or by simply adding brown sugar.
Apply it generously on both sides of the ribs and let them sit, preferably overnight in the refrigerator.
This allows the flavors to deeply penetrate the meat, resulting in a more flavorful outcome once grilled.
Setting Up Your Grill: Understanding Direct and Indirect Heat
Setting up your grill correctly is a crucial step in achieving perfectly cooked ribs.
The key is to understand the difference between direct and indirect heat.
Direct heat is when the flames are directly underneath the food.
This method is great for searing or cooking things quickly, but it's not ideal for ribs since they require a longer, slower cook.
Instead, you'll want to use indirect heat for grilling ribs.
Indirect heat involves having the fire on one side of the grill and placing the ribs on the other side.
If you're using a gas grill, simply turn on half of the burners and place the ribs on the unlit side.
For charcoal grills, arrange the coals on one side and place the ribs on the grate on the other side.
This setup allows the ribs to slow-cook without burning, resulting in tender, juicy meat.
Remember to maintain a consistent temperature, ideally between 225 and 250 degrees Fahrenheit, throughout the cooking process.
Mastering Temperature Control: Finding the Sweet Spot for Ribs
Maintaining the right temperature is pivotal when grilling ribs.
Ribs are best cooked slow and low, allowing the collagen in the meat to break down into gelatin, giving you that sought-after tender, fall-off-the-bone texture.
The sweet spot for ribs lies between 225 and 250 degrees Fahrenheit.
Too high a temperature can cause the ribs to dry out or burn, while too low a temperature can result in undercooked, tough meat.
Many grills come with built-in thermometers, but for a more accurate reading, consider investing in a digital grill thermometer.
Remember, maintaining consistent heat requires monitoring.
You may need to adjust the heat levels or add more charcoal (if using a charcoal grill) throughout the cooking process.
Mastering temperature control may take a few tries, but it's worth it for perfectly grilled ribs!
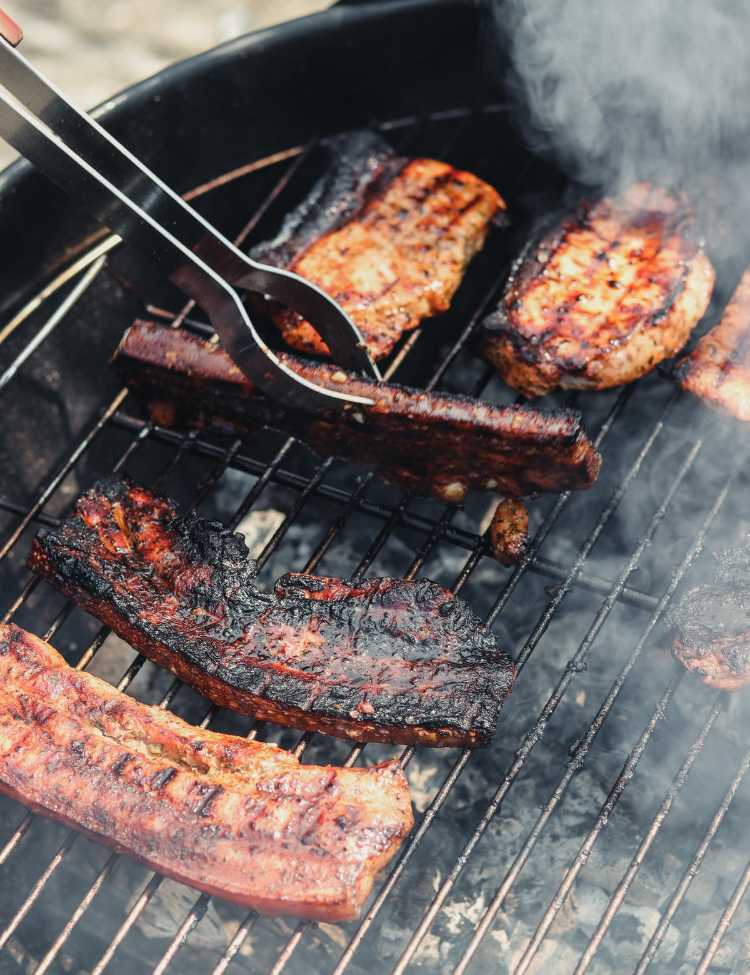
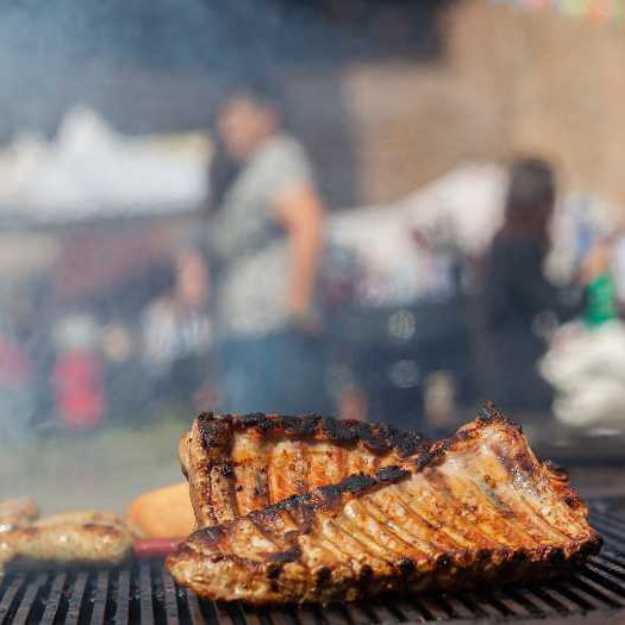
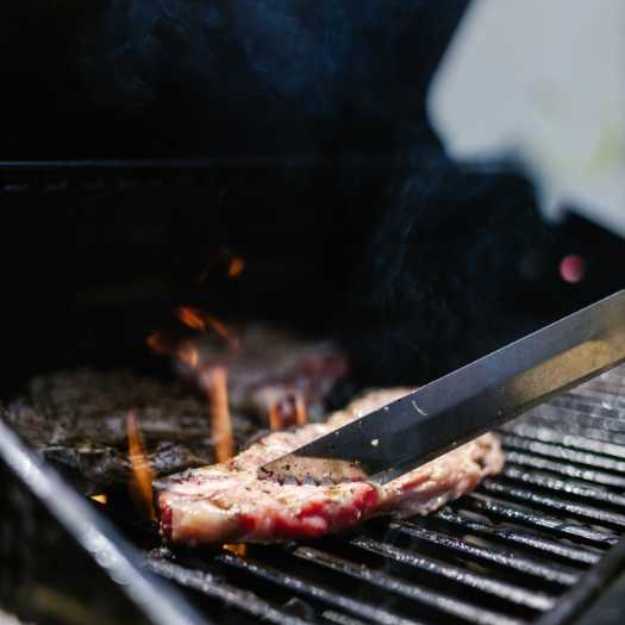
Grilling Techniques: How to Position Your Ribs on the Grill
Once your grill is set up and at the right temperature, it's time to position your ribs.
The placement of your ribs on the grill plays a significant role in how they cook.
If you're using indirect heat, which is recommended for ribs, place them on the side of the grill that's not directly over the heat source.
You should lay them bone side down, as this allows the meaty side to get more exposure to the smoke, enhancing its flavor.
If your grill is large enough, arrange the ribs horizontally.
If space is an issue, you can place them vertically or use a rib rack that holds them upright.
This positioning allows for even heat distribution, ensuring that all parts of the ribs cook at the same rate.
Remember to leave a little space between each rack to allow the heat and smoke to circulate properly.
Maintaining Moisture: The Role of Mopping and Spritzing
Maintaining moisture in your ribs while grilling is key to achieving tender, flavorful meat.
This is where the techniques of mopping and spritzing come into play.
Mopping involves using a brush or mop to apply a liquid mixture, often a blend of vinegar, beer, or other flavors directly onto the meat.
This helps to keep the ribs moist during the long cooking process and can add an extra layer of flavor.
Spritzing, on the other hand, involves spraying a thin layer of moisture onto the surface of the ribs with a spray bottle.
It's typically used for longer cooks and can help the meat attract more smoke, thus enhancing the smoky flavor.
Both methods contribute to maintaining moisture, preventing the ribs from drying out, and adding to the overall taste.
It's important to note that these techniques should be used sparingly to avoid washing away the rub and to ensure the heat in the grill remains stable.
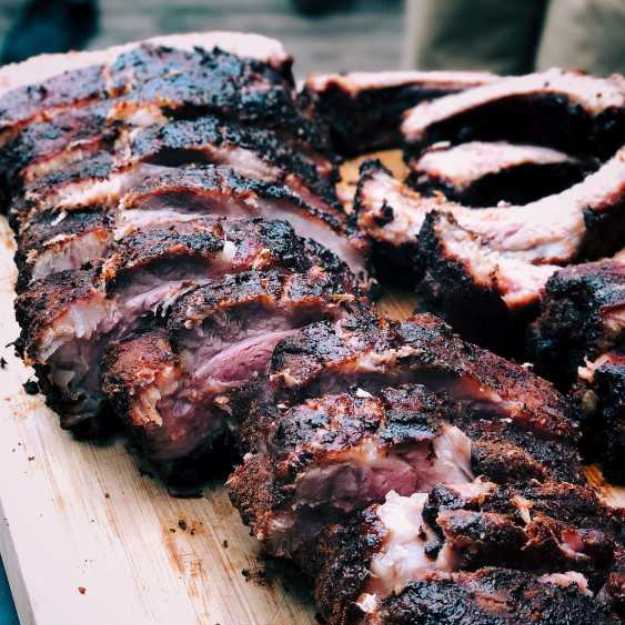
Checking Doneness: How to Know When Your Ribs Are Ready
Knowing when your ribs are ready is an important part of the grilling process.
There are several methods to check for doneness.
One common method is the bend test: using tongs, pick up the rack of ribs from one end.
If they bend and the surface of the meat cracks slightly, they're likely done.
Another method is the toothpick test, where you insert a toothpick into the meat between the bones.
If it slides in without resistance, your ribs are ready.
Additionally, you can look for visual cues such as the meat pulling back from the bone.
Some grillers also rely on temperature, aiming for an internal temperature of around 195-203 degrees Fahrenheit for optimal tenderness.
However, remember that ribs are forgiving and a few degrees over won't ruin them.
The key is to look for multiple signs of doneness to ensure perfectly cooked, tender ribs.
Resting Your Ribs: The Importance of Patience Post-Grilling
After investing time and attention in grilling your ribs, it's important not to skip the final step: resting.
Resting your ribs after grilling is crucial for achieving the best texture and flavor.
When cooked, the juices in the meat are pushed out towards the surface.
Resting allows these juices to redistribute throughout the meat, ensuring every bite is moist and flavorful.
Most experts recommend resting ribs for at least 10-15 minutes post-grilling.
During this time, the meat continues to cook slightly and comes down to an ideal eating temperature.
Rushing this process may result in a less juicy outcome and can also make the ribs too hot to handle safely.
So, practice patience and give your ribs the resting period they need to reach their full potential.
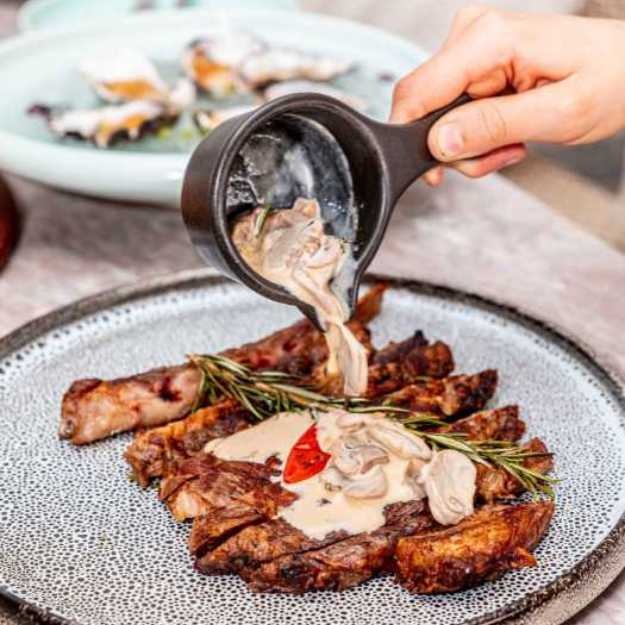
Adding the Finishing Touch: When and How to Apply BBQ Sauce
Adding BBQ sauce is the delicious finishing touch to your favorite grilled ribs recipe.
The key here is timing.
Most experts recommend applying your favorite BBQ sauce towards the end of the grilling process - typically in the last 15-30 minutes of cooking.
This is because most BBQ sauces contain sugar, which can burn and create a bitter taste if exposed to high heat for too long.
To apply the sauce, use a brush or mop and generously coat both sides of the ribs, allowing the sauce to caramelize and form a tasty, sticky glaze.
If you prefer a thicker layer of sauce, you can apply several coats, allowing a few minutes in between for each layer to set.
Remember, adding barbecue sauce is like icing a cake – it's the final flourish that brings everything together.
So take your time, apply evenly, and most importantly, enjoy the process.
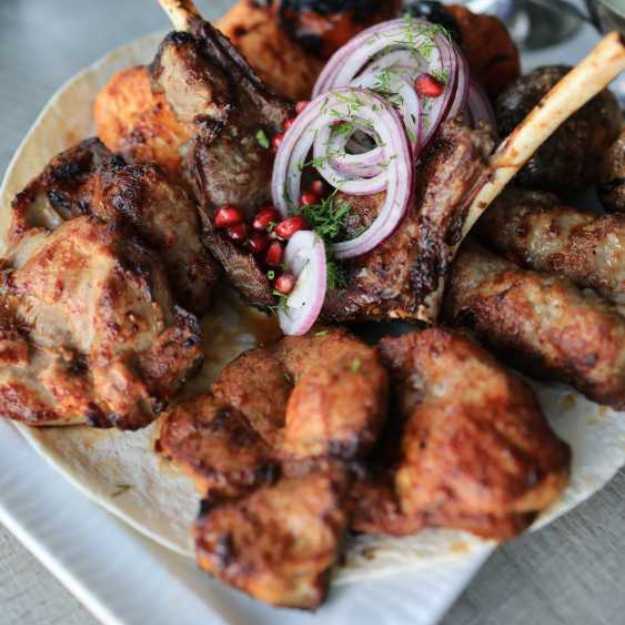
Serving and Storing: Tips for Presenting and Preserving Your Grilled Ribs
After the grilling, resting, and saucing process, serving your ribs is the final step to an enjoyable BBQ meal.
Presentation is key, so consider slicing between each rib bone for individual servings, allowing your guests to appreciate the tender meat and perfect smoke ring.
Pair the ribs with classic sides like coleslaw or cornbread for a complete meal.
After enjoying your delicious grilled ribs, proper storage is essential to maintaining their flavor.

Let any leftover ribs cool to room temperature, then wrap them tightly in aluminum foil or store them in an airtight container.
They can be kept in the refrigerator for up to a week, or for longer storage, consider freezing them.
When reheating, add a touch of sauce or a few drops of water to help them regain moisture and taste as good as when they were freshly grilled.
Properly stored and reheated ribs can make for a fantastic second round of BBQ enjoyment.
How to Perfectly Cook Ribs on The Grill: FAQ Section!
You've made it to our FAQ Section!
Below you can find answers to any of your leftover questions you may have.
Cooking ribs on the grill is a great way to achieve a grand BBQ, and we wouldn't want any simple questions to hold you back!
So read our FAQs to get your questions answered!
What is the secret to grilling ribs?
The secret to grilling ribs lies in the preparations and the cooking methods, making sure to get both of them spot on!
First, select a quality cut of ribs. Next, it’s time to marinate them - even if only for 30 minutes!
Try using a combination of hot sauce, Worcestershire sauce, salt, pepper, and a bit of garlic powder - it adds extra flavor that pairs perfectly with the smoky flavor from the grill.
Finally, just make sure you set the grill temperature properly and consistently throughout the cook!
When cooking ribs on the grill, do you flip them?
Yes, you should flip ribs when cooking on the grill.
When cooking ribs on the grill, it is important to pay attention to temperature and timing.
Generally speaking, flipping your ribs periodically throughout the grilling process will help them cook more evenly.
This practice also helps prevent charring and burning of rib meat.
What are the common cooking methods for ribs?
Cooking ribs can be a delicious but challenging task.
There are several common methods that you can use to make sure your ribs come out tender and juicy every time.
The most popular cooking method for ribs is slow-cooking them either in the oven or on a smoker.
This method involves cooking the ribs at low temperatures (200°F - 225°F) for an extended period of time, usually between 3-4 hours.
How often do you flip ribs on the grill?
Flipping ribs on the grill is an important step of grilling—you must flip periodically for even cooking and to avoid burning.
While it varies depending on the type of rib you’re cooking, as well as how hot your fire is and other factors, in general, you should flip your ribs at least every 10 minutes.
What temperature should you cook your ribs on the grill?
To get the best results when you grill ribs, you should aim for an internal temperature in the meat of at least 160-165°F.
It's best to use indirect heat, rather than direct flame, to cook your ribs evenly and slowly.
Preheat your grill to medium-low (around 325-350°F).
Place the ribs on the cool side of the grill (the side without coals or flames), and cover it with a lid for 30 minutes.
How do I prepare ribs before grilling them?
Preparing ribs before grilling them is an important step in ensuring that your meal turns out just the way you want it to.
First removes the membrane, then you can add any seasonings or marinades and give them time to work their way into the meat.
Once the seasonings have penetrated the meat, you can start grilling them!
When cooking a rack of ribs, do you cut them into individual pieces and then grill or leave them on the rack?
It depends on the type of ribs you're cooking and your desired result.
If you are looking for that classic look from restaurant-style ribs, it is best to leave them in one piece on the rack and grill them slowly over low heat until they are cooked through and tender.
However, if you have a smaller cut of ribs, or prefer a more tender texture, then cutting them into individual pieces before grilling may be the way to go.
Are there techniques to tell when your ribs are ready?
Yes, there are a few ways to tell when your ribs are ready.
First, you can pull the bone away from the meat. When it starts pulling easily, it's a sign that your ribs are almost ready.
Another way is to check the internal temperature with an instant-read thermometer.
For succulent and juicy ribs cook until they reach an internal temperature of 185°F for pork or 195°F for beef/lamb ribs.
How long should you let your ribs grill?
Generally, ribs should be grilled for approximately 3-4 hours over indirect heat.
For best results, set the grill to 225°F and place the ribs on the side of the grate that is not directly over coals or a gas burner.
How do you know when pork ribs are done?
Pork ribs are done when they reach an internal temperature of 145 degrees Fahrenheit (63 degrees Celsius) as measured with a food thermometer.
However, for juicier ribs, it's recommended to cook them until the internal temperature reaches 165-170 degrees Fahrenheit (74-77 degrees Celsius).
Additionally, if you're using the bend test method to check doneness, your grilled pork ribs should be tender but not falling apart and have that “bend” before they break.
How to Cook Ribs on The Grill
Thank you for tuning into this informative article!
Now that we've shared these professional-level tips, tricks, and guides there should be nothing standing in the way of perfectly grilled ribs!
We hope you learned something useful as well as felt entertained.
If you like what you saw here today, there's always more where that came from!
Check out our other related articles and subscribe so you never miss a fresh post.
Anyways, now that you know how to cook perfect ribs, go fire up that grill!